15 Easy DIY Christmas Ornament Ideas to Make This Weekend
A handmade ornament does something a store bought bauble cannot do. It holds a memory. The salt dough star your child painted, the dried orange slice from a quiet afternoon in the kitchen, the felt gingerbread man with the slightly crooked smile, these are the ornaments that get the best spot on the tree year after year. They are not perfect, and that is exactly why they matter.
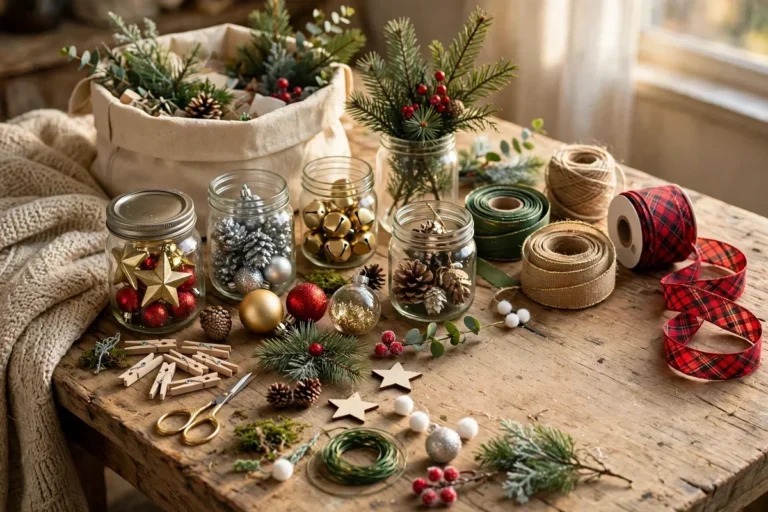
DIY Christmas ornament ideas do not need to be complicated, expensive, or messy beyond reason. Most of the projects in this guide use things you already have at home, such as flour, paper, felt scraps, pinecones, cinnamon, and twine. Each one can be finished in an afternoon, many in under an hour, and most are simple enough for kids to help with, with a little adult supervision for hot glue and the oven.
This list gives you 15 easy DIY Christmas ornament ideas to make this weekend, grouped from the simplest no bake projects to keepsakes you will treasure for years. Pick one to start, gather your supplies, clear the kitchen table, and make something your tree will remember.
1. Classic Salt Dough Ornaments
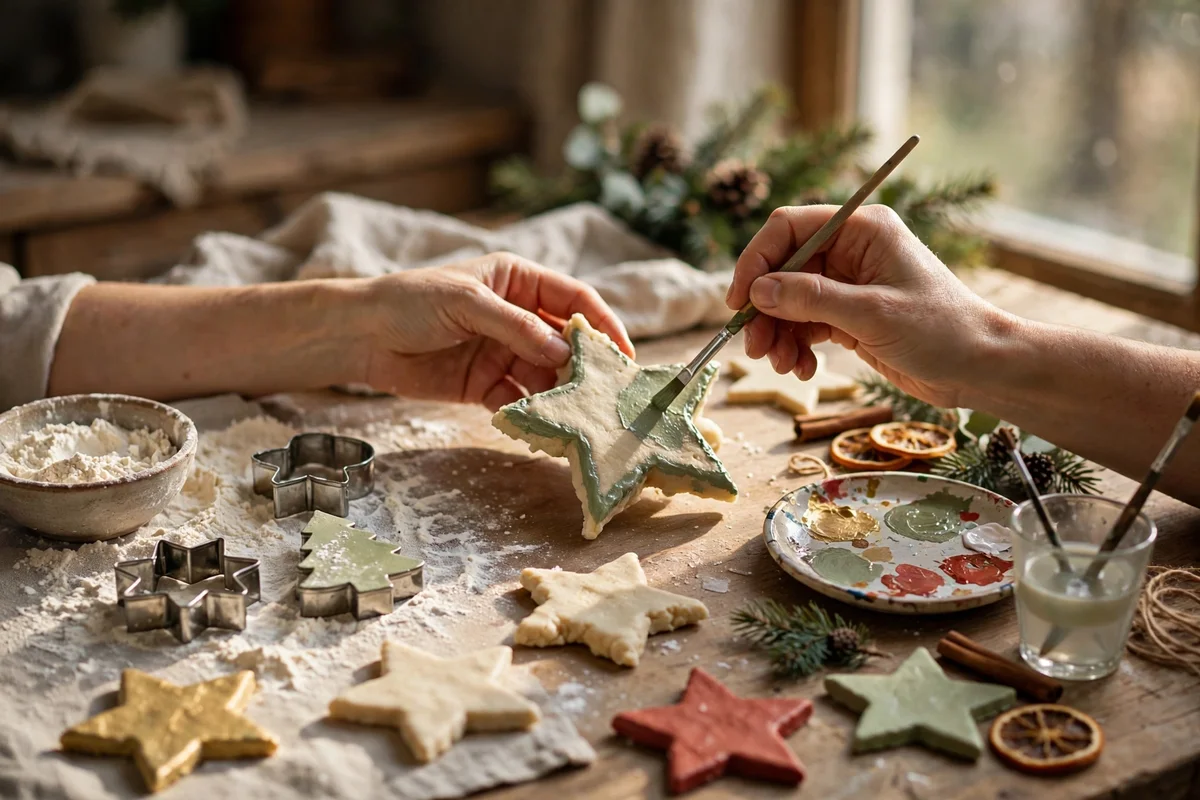
Salt dough is the ornament craft most families start with, because the ingredients are already in the kitchen and the shapes are endlessly customizable. Mix two cups of flour, one cup of salt, and about one cup of water until you have a firm dough. Roll it out to about a quarter inch thick, cut stars, trees, and snowflakes with cookie cutters, and press in a name, a date, or a handprint before baking.
Bake the ornaments on a lined tray in a low oven, around 200 degrees Fahrenheit, for two to three hours, turning them once halfway through. They should feel hard and dry all the way through. Let them cool completely, then paint them with acrylic paint and seal them with a clear varnish or Mod Podge so they last for years.
2. Dried Orange Slice Ornaments

Dried orange slices glow like stained glass when the tree lights hit them, and they cost almost nothing to make. Slice oranges thinly, about a quarter inch thick, and pat them dry with a paper towel. Lay them on a lined baking tray and dry them in a low oven, around 200 degrees Fahrenheit, for two to three hours, turning them every thirty minutes until they feel dry and slightly translucent.
Once the slices are cool, thread twine, ribbon, or thin wire through the center and tie a loop for hanging. A single slice looks lovely on its own, or you can layer two slices with a cinnamon stick and a sprig of dried greenery for a fuller ornament. The scent is gentle and natural, and the warm amber color suits almost any tree.
3. Cinnamon Stick Bundles

Cinnamon stick bundles are the fastest ornament in this guide, and they make the tree smell like Christmas. Gather three or four cinnamon sticks of similar length, line them up in a small bundle, and wrap red and white baker’s twine around the middle a few times. Tie a small bow, add a loop at the top for hanging, and you are done in under ten minutes.
For a fuller look, tuck a small sprig of faux pine, a dried orange slice, or a tiny pinecone into the twine before you tie it. A star anise pod adds a pretty shape and a warm scent. Keep the bundle light, so it hangs straight and does not pull the branch down.
4. Cinnamon Applesauce Ornaments

Cinnamon applesauce ornaments look like gingerbread and scent the whole tree, but you never need to bake them in the usual sense. Mix one cup of applesauce with about one and a quarter cups of ground cinnamon to form a firm dough. Roll it out, cut shapes with cookie cutters, and poke a hole near the top with a straw for the hanging loop.
Let the ornaments air dry for two to three days, turning them once a day, or dry them in a very low oven for an hour or two. They will darken slightly as they dry and feel firm and light. Thread ribbon through the hole, and hang them on the tree where the scent can drift into the room.
5. Frosted Pinecone Ornaments

Frosted pinecones bring the outdoors onto the tree with almost no effort. Collect pinecones from your yard or a park, shake off any loose dirt, and let them dry fully indoors for a day or two. If they are closed up, a low oven for thirty minutes will help them open, but watch them closely and let them cool before handling.
Brush white acrylic paint lightly over the tips of the scales to mimic snow, or dip the tips in white paint and shake off the excess. Add a sprinkle of fine glitter while the paint is still wet for a frosty sparkle. Once dry, wrap twine around the top scales and tie a loop, or glue a small ribbon loop to the base.
6. No Sew Felt Star Ornaments

Felt is the kindest material for a beginner, because it does not fray and a line of glue can stand in for stitches. Cut two star shapes from stiff felt in the same size, using a paper template or a cookie cutter as a guide. Glue the edges together with fabric glue or hot glue, leaving a small opening, then stuff the star lightly with cotton filling and glue the opening closed.
Add a loop of ribbon or twine at one point of the star before you close it, so the ornament hangs straight. Decorate the front with a smaller felt star, a button, a few French knots in embroidery thread, or a sprinkle of glitter glue. Keep the decoration simple, since a clean star reads better on the tree than a crowded one.
7. Felt Gingerbread Ornaments

A felt gingerbread man is a classic Christmas character, and felt makes him easy to shape. Cut two gingerbread man shapes from brown felt, then glue or stitch them together around the edges, leaving a small opening for stuffing. Fill the shape lightly, close the opening, and add a ribbon loop at the top.
Decorate the front with white felt or puffy paint for icing details, small buttons for eyes and buttons down the front, and a tiny red bow at the neck. A smile made with a few stitches or a thin line of paint gives the gingerbread man his personality. Keep the features simple and bold, so they read clearly from a distance.
Make a whole gingerbread family in different sizes, with different bow colors, and hang them together on one branch for a storybook effect. These ornaments are soft, light, and durable, so they are a good choice for a family tree that gets a lot of handling.
8. Yarn Pom Pom Ornaments
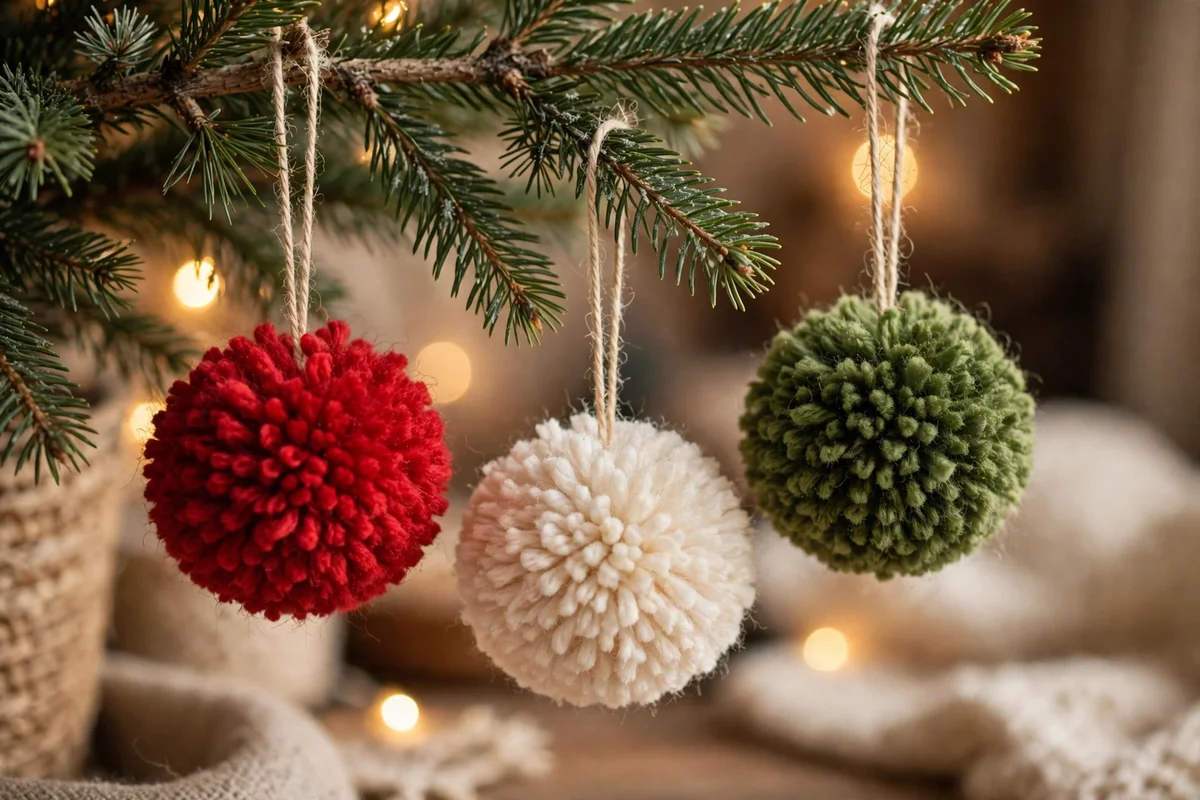
Pom poms are the easiest ornament in this guide, and kids can make almost all of them by themselves. Wrap yarn around a pom pom maker, a fork, or two fingers many times until you have a thick bundle. Tie the bundle tightly in the middle with a strong piece of yarn, cut the loops open, and trim the pom pom into a neat round shape.
Tie a long loop of yarn to the center tie, and hang the pom pom directly on a branch. Use red, green, white, and cream yarn for a classic Christmas palette, or try blush pink, sage, and gold for a softer modern tree. A pom pom made from chunky yarn looks full and cozy, while a pom pom from fine yarn looks delicate.
Make pom poms in different sizes and cluster three together on one branch for a fuller effect. They are light, unbreakable, and quick to make in a batch, so they are perfect for filling gaps on a large tree without buying more ornaments.
9. 3D Paper Star Ornaments

A 3D paper star looks far more impressive than its simple folding suggests. Cut five identical diamond shapes from heavy card stock or patterned paper, fold each one in half lengthwise, and glue the folded edges together in a circle to form a star with depth. Add a loop of twine at the top point before you glue the last seam.
Choose paper that suits your tree. Kraft paper gives a rustic Scandinavian look, metallic gold or silver paper feels festive and bright, and patterned scrapbook paper adds color and personality. A star made from old book pages or sheet music has a vintage charm that suits a collected tree.
Paper stars pack flat if you make them without gluing the final seam until December, which makes them easy to store. Hang them at different heights, and let the tree lights catch the folded edges. They are light enough for the thinnest branches, so they can fill the top of the tree where heavier ornaments would droop.
10. Folded Paper Snowflakes

Paper snowflakes are the simplest ornament most of us remember from school, and they still look magical on a tree. Fold a square of white paper in half, then in half again, then into a triangle. Cut small triangles, curves, and notches from the folded edges, open the paper carefully, and you have a unique snowflake.
Use thin white paper for a delicate look, or try pale blue, silver, or glitter paper for a winter wonderland tree. Iron the snowflake flat on a low setting under a cloth, or press it under a heavy book overnight, so it hangs neatly. Attach a short thread loop with a tiny piece of tape on the back.
Make snowflakes in several sizes and hang them near the lights, where they catch the glow. They are a wonderful project for a snowy afternoon with kids, since no two snowflakes ever turn out the same. Store them flat between sheets of tissue paper.
11. Glitter Filled Clear Baubles

Clear baubles are a blank canvas, and glitter turns them into instant glamour. Remove the cap from a clear plastic bauble, pour in a small amount of clear glue or floor polish, swirl it around to coat the inside, and pour out the excess. Add a spoonful of fine glitter, cover the opening with your thumb, and shake gently until the inside is evenly coated. Let it dry with the cap off for a day.
Use one glitter color per bauble for a clean look, or layer two colors for depth. Gold, silver, rose gold, and white glitter suit most trees, while red or green glitter adds a bold pop. Add a small sprig of faux greenery or a few tiny beads inside before you replace the cap for a fuller design.
Plastic baubles are safer than glass for a family tree, and they are light enough for thin branches. Make a set of matching glitter baubles to tie a tree together, or mix them with matte ornaments for contrast.
12. Photo Ornaments in Clear Baubles

A photo ornament turns a plain bauble into a keepsake. Print a small photo, trim it to fit inside a clear bauble, curl it gently, and slide it through the opening. Add a pinch of faux snow, a few tiny beads, or a sprig of greenery around the photo, then replace the cap and tie a ribbon loop.
Choose photos that mean something, such as a family portrait, a baby’s first Christmas, a pet, or a favorite holiday memory. Print the photo on regular paper rather than thick photo paper, so it curls easily and does not crease. A photo from this year makes a lovely gift for grandparents, while a photo from years ago brings a smile every December.
Make one photo ornament each year, and your tree will slowly fill with a visual family history. Label the back of the photo with the year in pencil, so future Christmases can trace the story.
13. Wood Slice Ornaments

Wood slices bring a natural, rustic texture to the tree. Buy pre cut wood slices with a hole already drilled, or cut your own from a fallen branch and drill a small hole near the edge. Sand the surface smooth, wipe away the dust, and paint or stamp a simple design on the front.
A single word such as Joy, Noel, Peace, or the family name works beautifully, as does a simple painted tree, star, or snowflake. Use acrylic paint and a fine brush, or a rubber stamp with permanent ink for a cleaner result. Seal the finished slice with a clear varnish so the paint does not smudge in storage.
Wood slice ornaments suit a farmhouse, woodland, or Scandinavian tree, and they pair well with dried oranges, pinecones, and burlap ribbon. Make a set with different words and hang them together, or give one as a personalized gift with the recipient’s name on the back.
14. Beaded Candy Cane Ornaments

Beaded candy canes are a bright, cheerful project that kids love. Thread red and white beads onto a pipe cleaner in alternating stripes, leaving a short length bare at each end. Bend the pipe cleaner into a candy cane shape, twist the ends together at the top, and add a ribbon loop for hanging.
Use pony beads for a chunky, kid friendly ornament, or small glass beads for a finer, more delicate look. A candy cane made from red and white beads catches the tree lights and adds a pop of color to a green tree. Make several in different sizes and hang them near the front of the tree where they can be seen.
These ornaments are light, unbreakable, and quick to make, so they are ideal for a classroom craft or a family ornament making night. Store them flat in a box, since the pipe cleaner can bend out of shape if it is crushed.
15. Mini Snow Globe Ornaments

A mini snow globe ornament is a small jar that becomes a winter scene. Use a small clear plastic ornament with a removable base, or a tiny glass jar with a tight lid. Glue a miniature tree, a tiny house, or a small figurine to the inside of the lid or base, add a pinch of fake snow or fine glitter, fill the jar with water if it is watertight, and seal it tightly.
For a simpler version that never leaks, skip the water and use a dry snow globe. Place the miniature scene inside a clear bauble, add a spoonful of fake snow, and close the cap. Shake the ornament gently and the snow drifts around the scene. A dry version is safer for a tree and easier to store.
Mini snow globes are delightful on a tree and make a charming gift. Keep the scene simple, with one or two small pieces, so the snow can move freely and the design stays clear. A tiny bottle brush tree and a pinch of glitter is often all you need.
Frequently Asked Questions

What is the easiest DIY Christmas ornament for a beginner?
A cinnamon stick bundle or a yarn pom pom is the easiest place to start. Both take under fifteen minutes, need only a few supplies, and are hard to get wrong. A frosted pinecone is almost as simple. Start with one of these, then try salt dough or felt once you feel confident.
How long do salt dough ornaments last?
Salt dough ornaments last for many years if they are fully dried, sealed with varnish or Mod Podge, and stored in a dry place. Make sure the dough is baked until it is hard all the way through, since any dampness in the center can cause softening or mold. Wrap each ornament in tissue paper and store the box away from humidity.
Are DIY ornaments safe for kids to make?
Most DIY ornaments are safe for kids with adult supervision. Let children handle dough, felt, paper, yarn, and beads, and let an adult handle hot glue, the oven, sharp scissors, and small beads that could be a choking hazard for toddlers. Choose plastic baubles rather than glass for a family tree.
How do I store handmade ornaments?
Wrap each ornament individually in tissue paper, place them in a sturdy box with dividers or layers of tissue, and store the box in a cool, dry place. Keep paper ornaments flat, keep salt dough and cinnamon ornaments dry, and keep glitter ornaments in a sealed bag so glitter does not spread. Label the box with the year and the contents.
Can I make DIY ornaments as gifts?
Yes, DIY ornaments make thoughtful, personal gifts. Photo ornaments, wood slice ornaments with a name, cinnamon applesauce ornaments, and felt gingerbread ornaments are all good choices. Make them a few weeks before Christmas so they have time to dry fully, wrap each one in tissue paper, and add a small tag with the year.
How many handmade ornaments do I need for a tree?
A six foot tree usually needs about sixty to eighty ornaments for a full look, but you do not need to make them all yourself. Start with ten to fifteen handmade ornaments mixed with store bought baubles, and add a few new handmade pieces each year. The tree will grow more personal over time without any pressure to finish it in one weekend.